We left off of the Big View House and its sweeping panoramas of Lake Washington and Mt. Rainier just after the permit phase. With several months under our belt, the construction is well underway and everything from stairs to solar panels is going into place!
After finding the underground water issue in the garage excavation, sump pumps were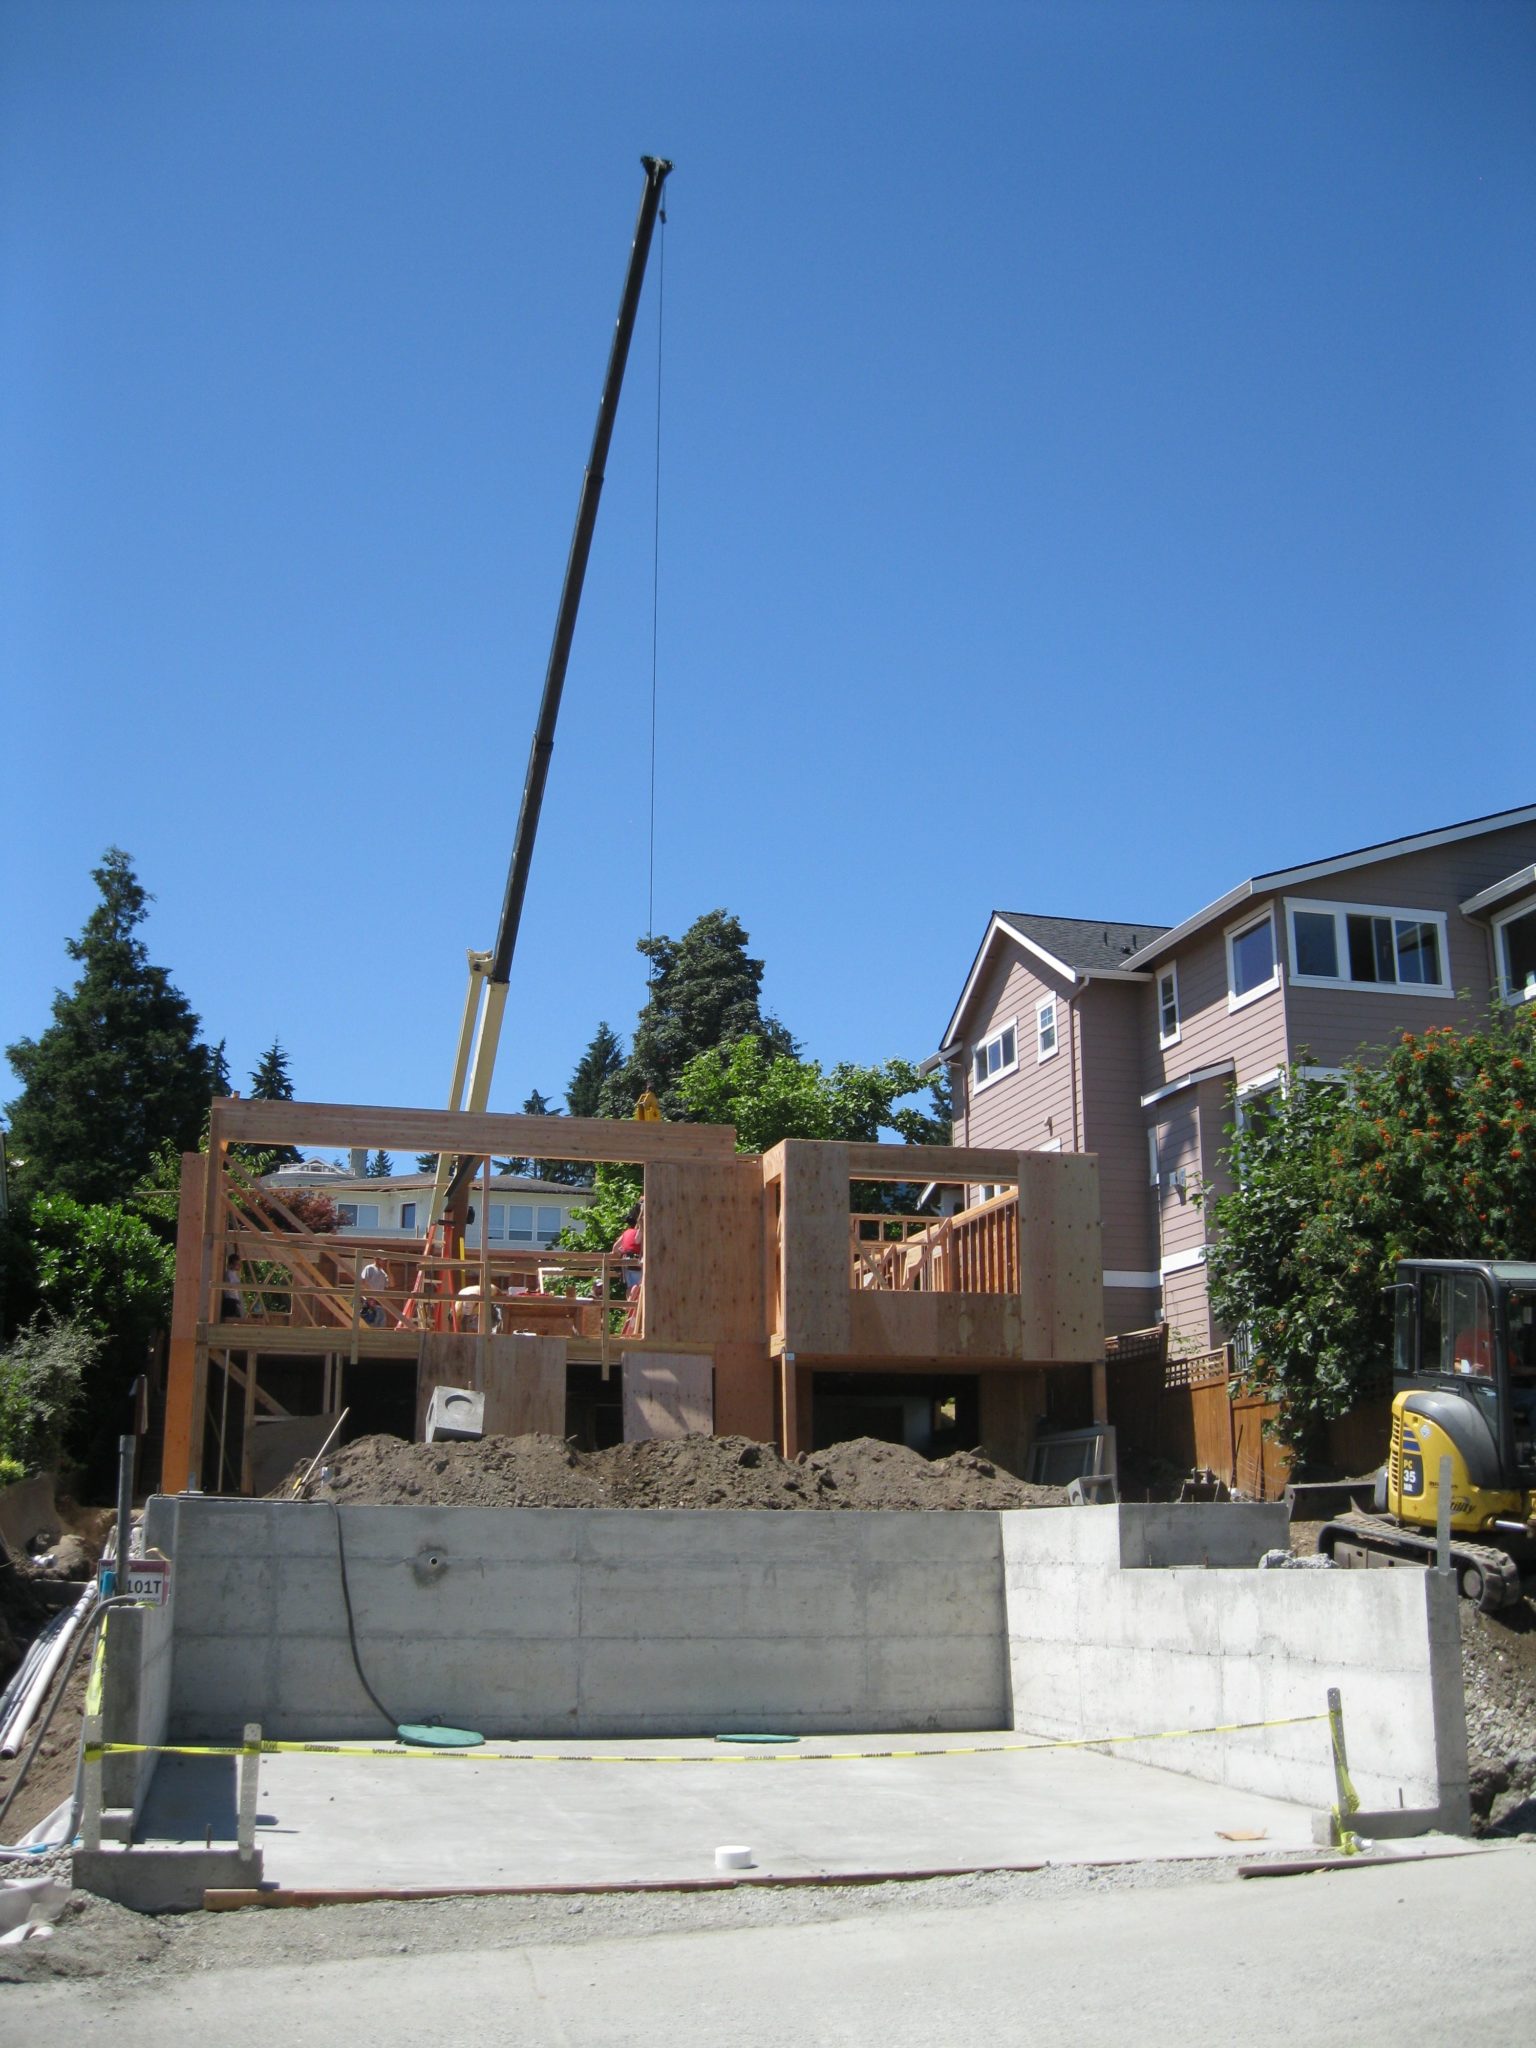 installed so that foundations could be poured and framing could begin. The green pump caps are visible at the back of the garage foundation, shown at right.
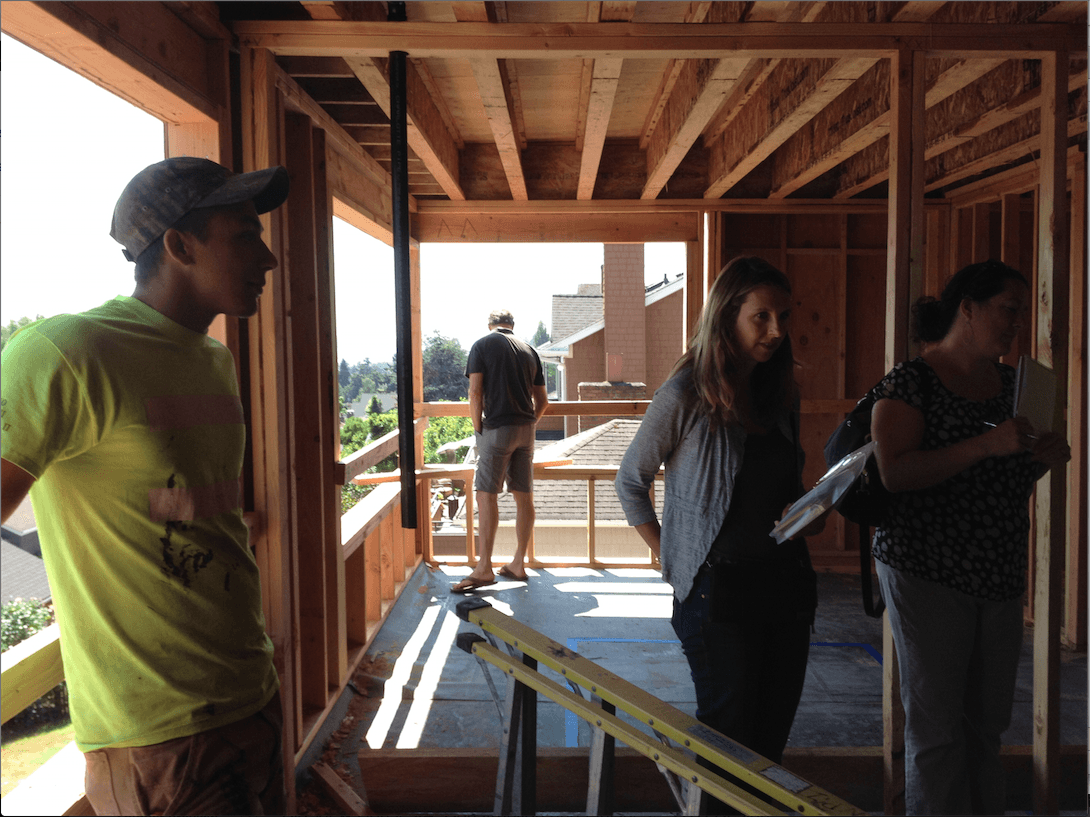
Framing was the next exciting step of the process as our clients were finally able to experience first-hand their new living space, particularly their master bedroom which they are standing in below. As you can see, we are using composite joists which are generally stronger than dimensional lumber, can span greater distances without needing supporting walls or columns, and allow for higher ceilings because the deep channels can accommodate openings for utilities without losing any strength.

O
Our beautiful fir columns are structural and so while they had to be installed with the framing, they also had to be lovingly protected from any construction damage over the months ahead. Once sheetrock is up, the protecting trim pieces will come down and reveal our great column and girder details. More photos to come on this!
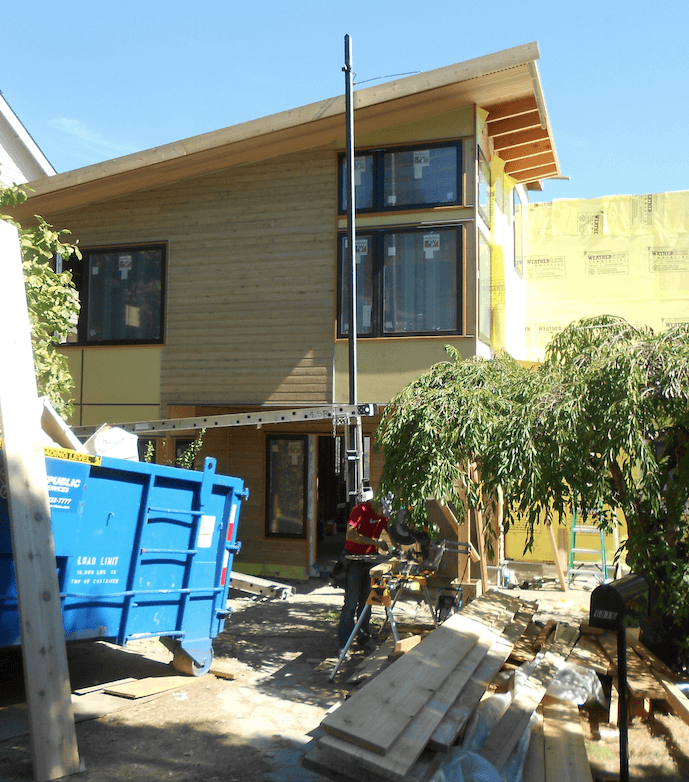
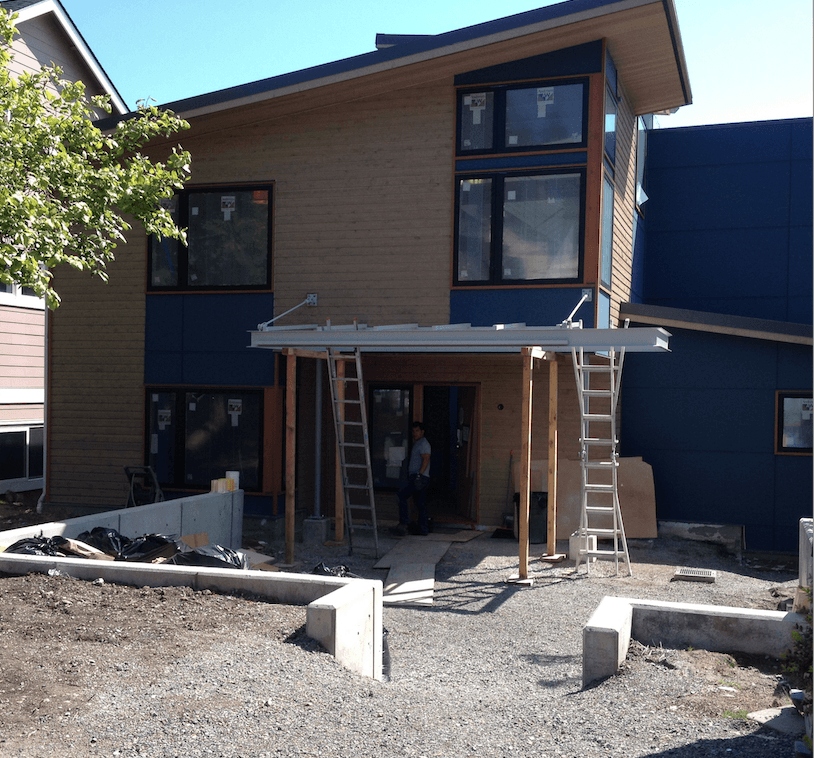
Once the building is framed, we’re able to work on 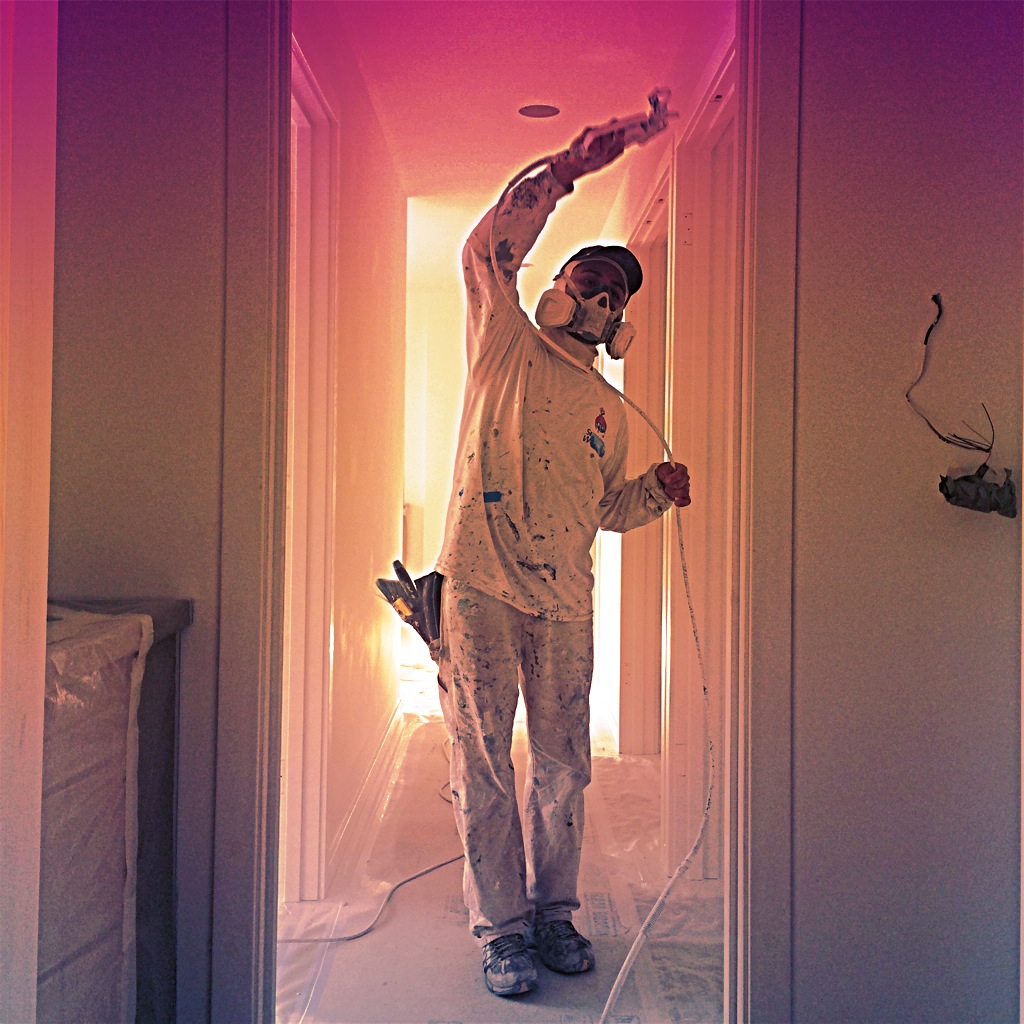 the building envelope, plumbing runs, electrical wiring, and insulation. This interior work is very intense, involving regular meetings with subcontractors and owners to ensure that all elements that will be eventually buried inside walls are exactly as the owners desire. This applies especially to electrical wiring: light locations and switches.
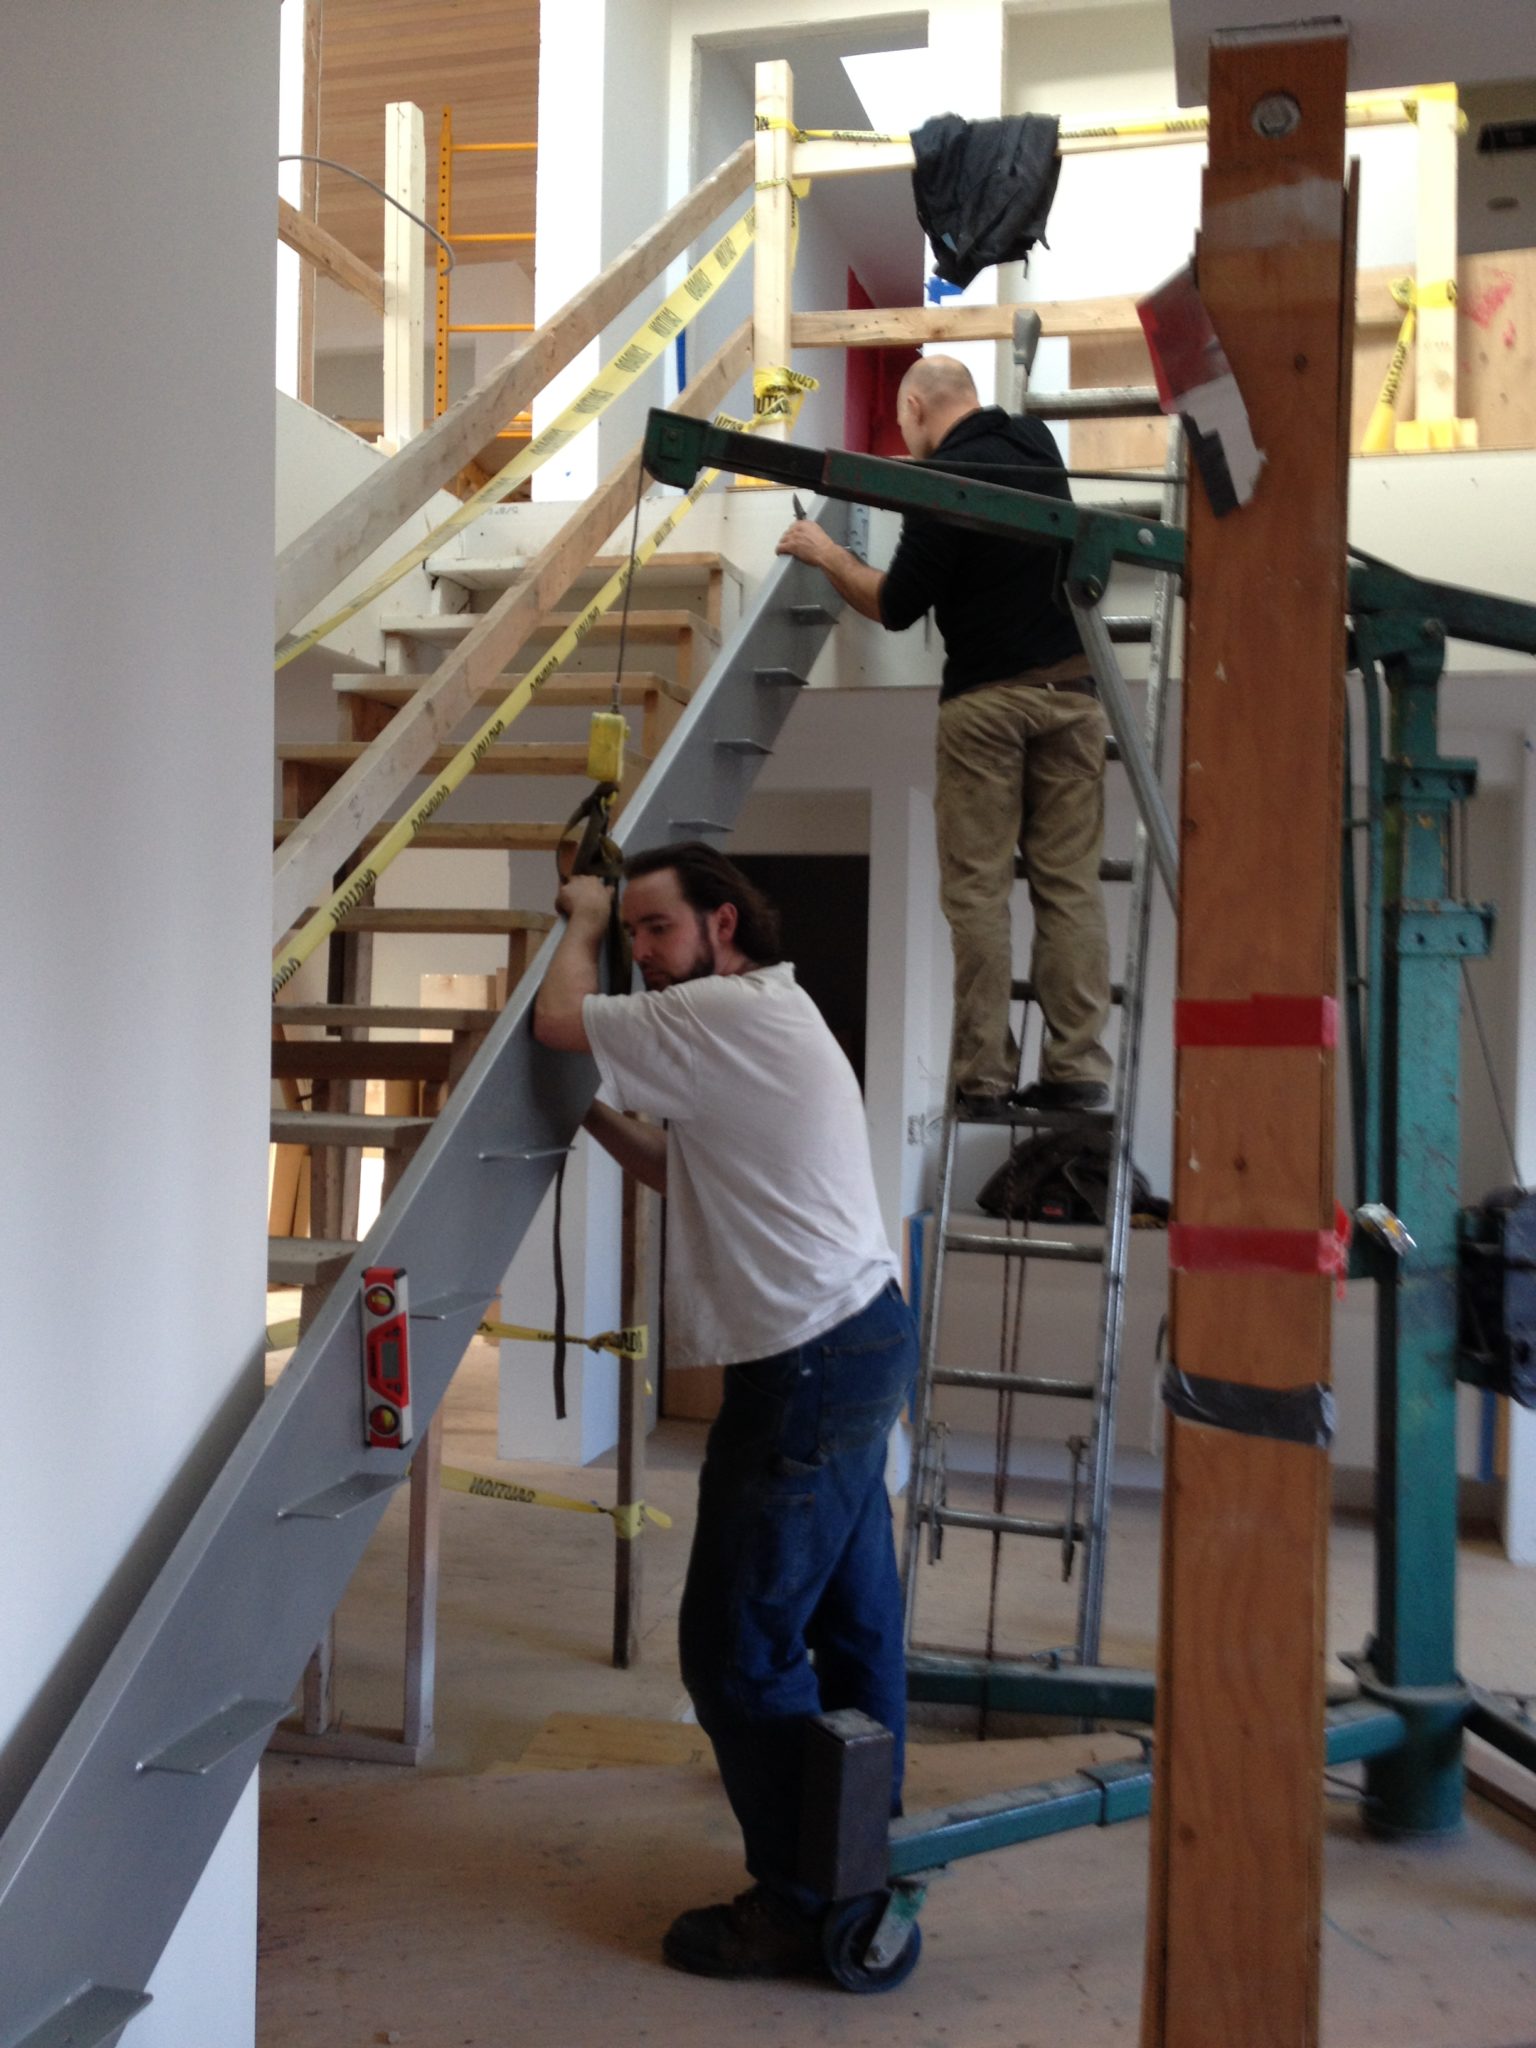
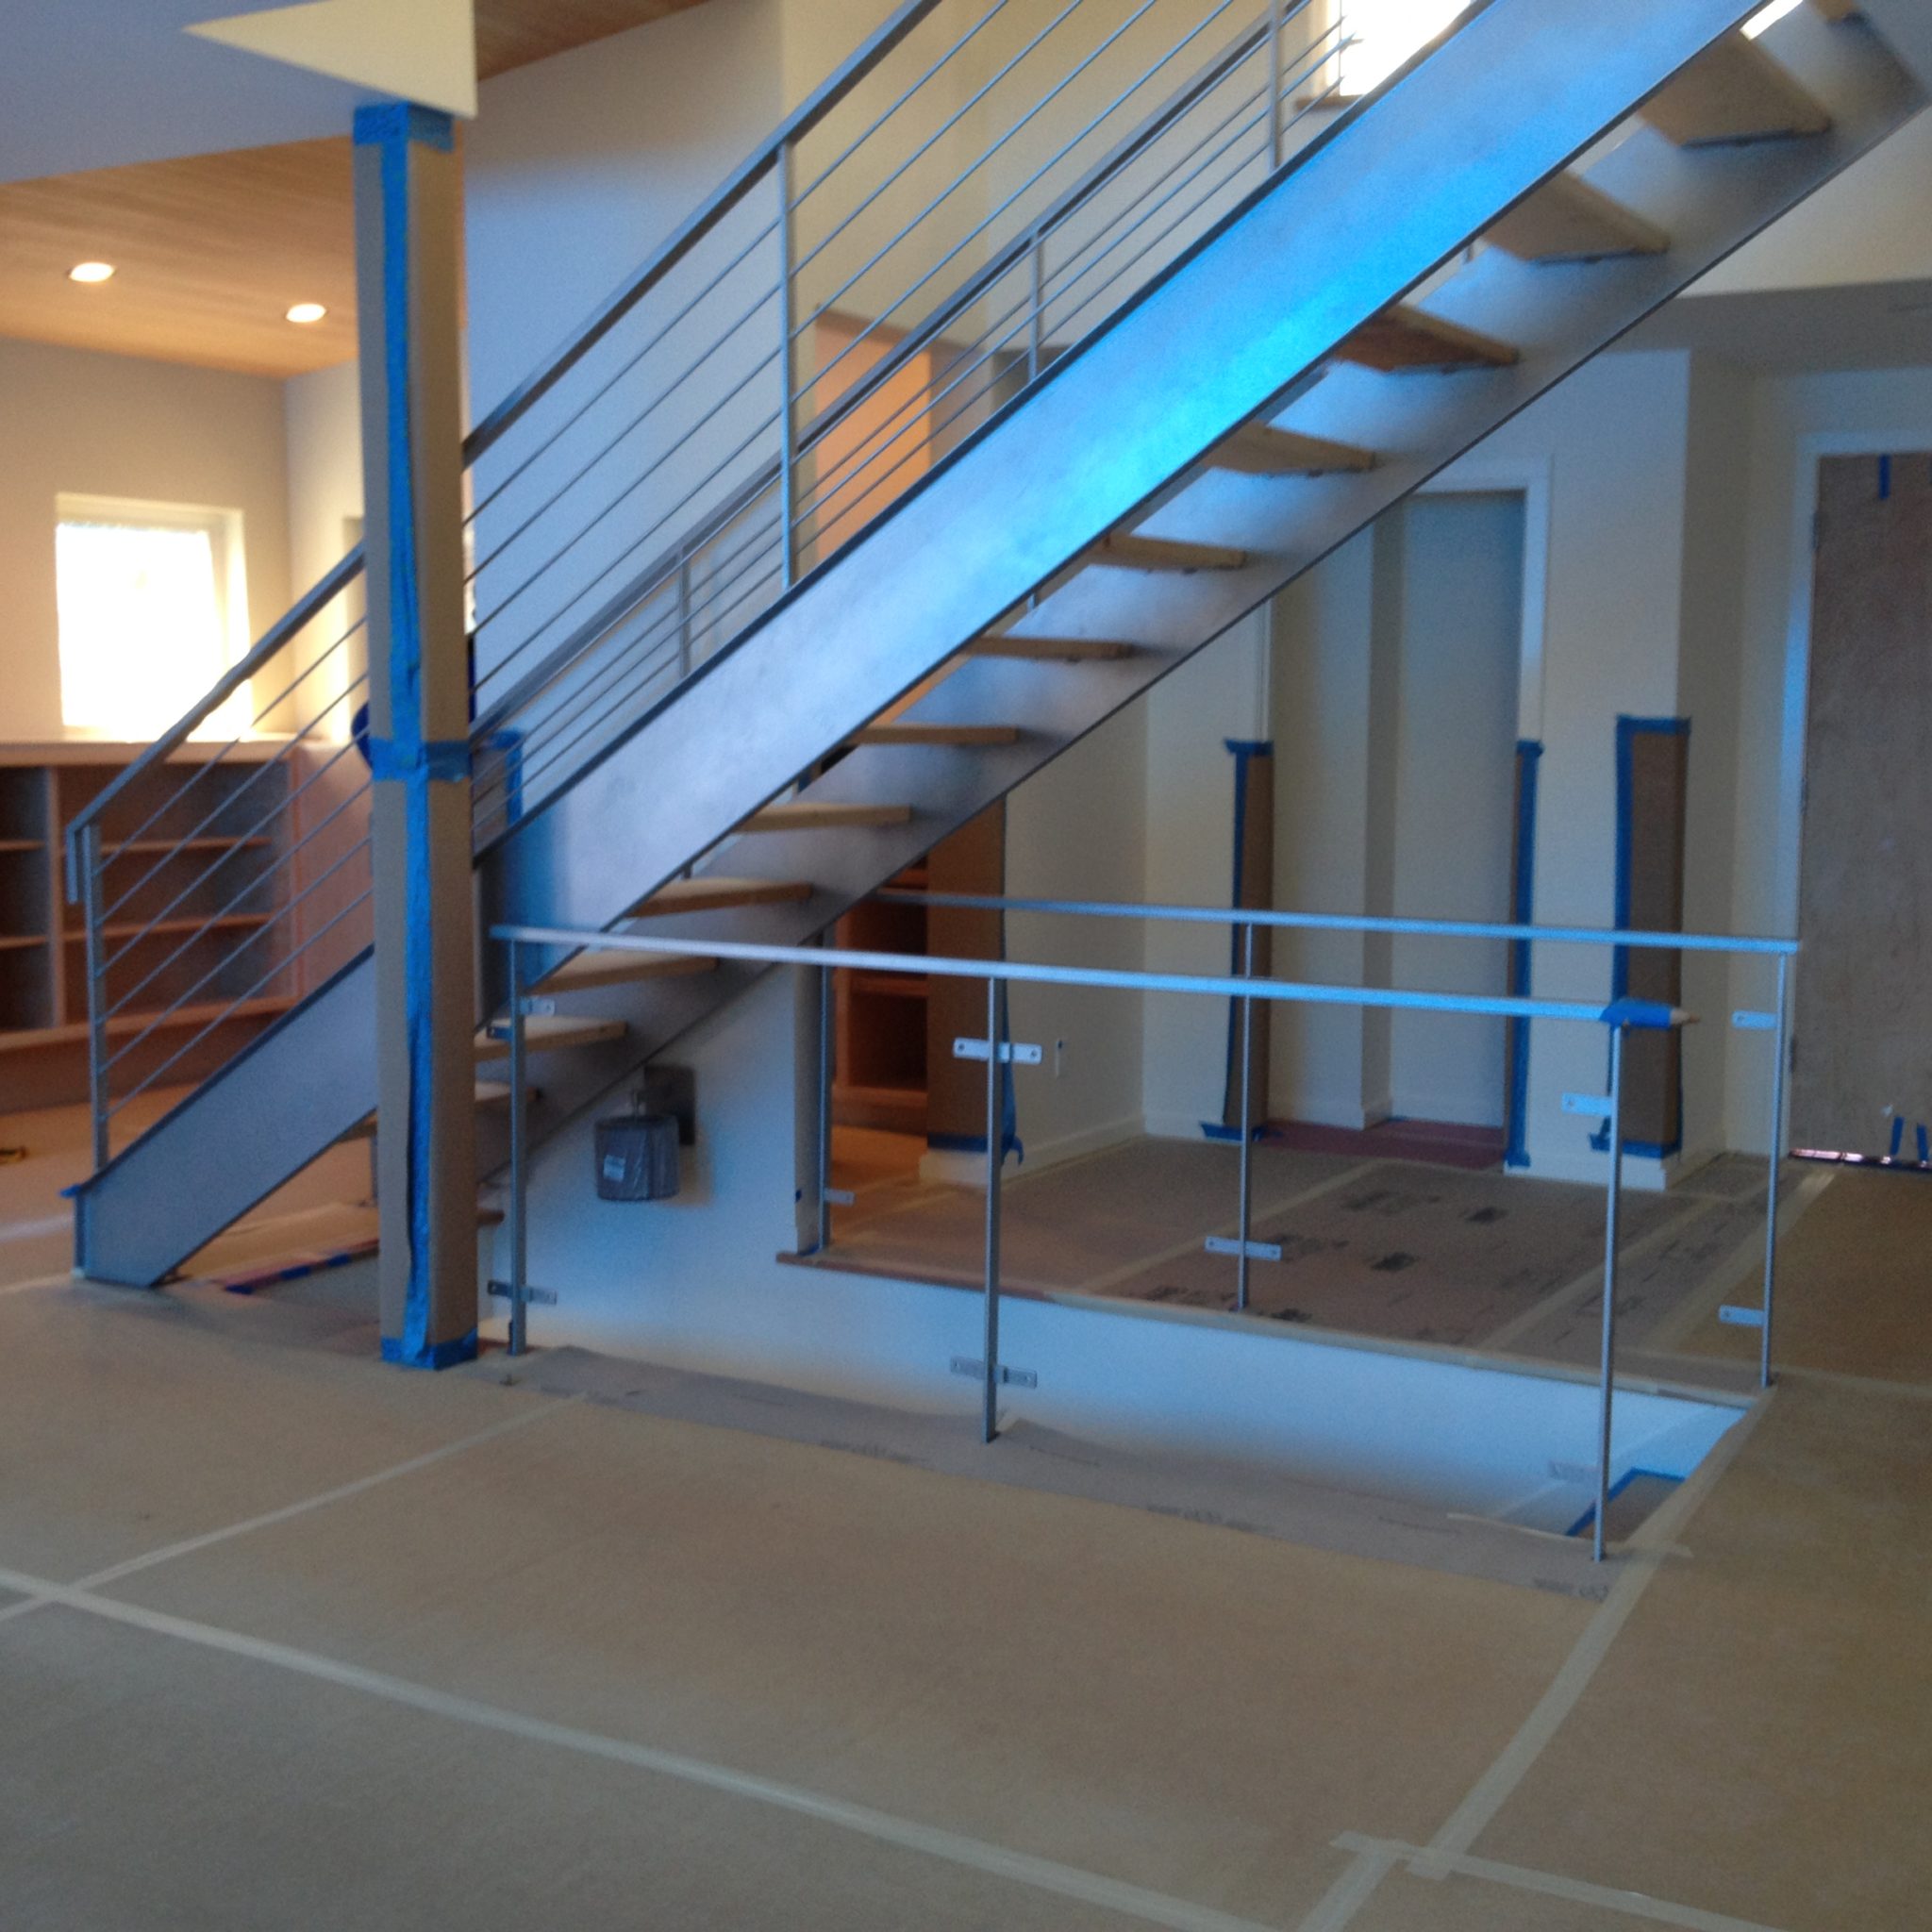
The siding for this project is a mix between Hardie board and horizontal cedar cladding, using the different materials to highlight different building elements and programs within the design. After the exterior has been sufficiently waterproofed, we can move into the interior to sheetrock, mud, sand, and paint the walls, and then start installing our very special custom stair (all four stories of it!) by our friends at Fire Works Forge. It’s been great fun working with Fritz and Joe and their fantastic team of craftsmen!
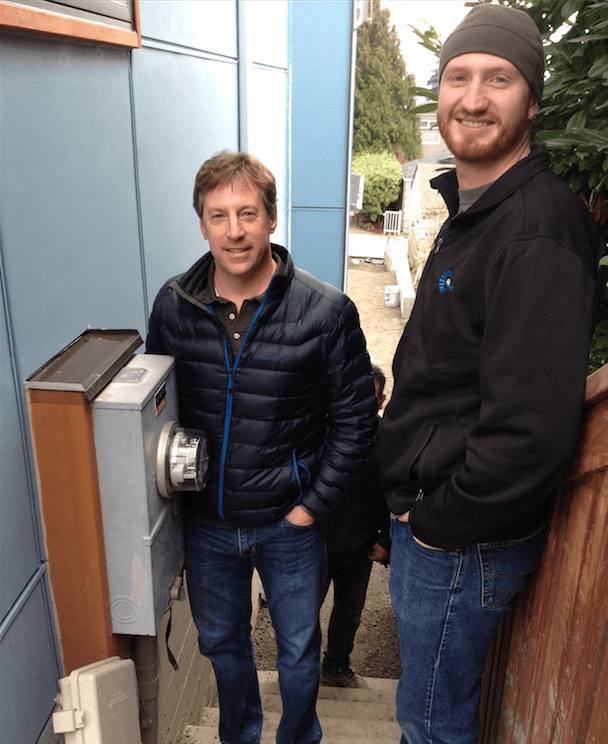
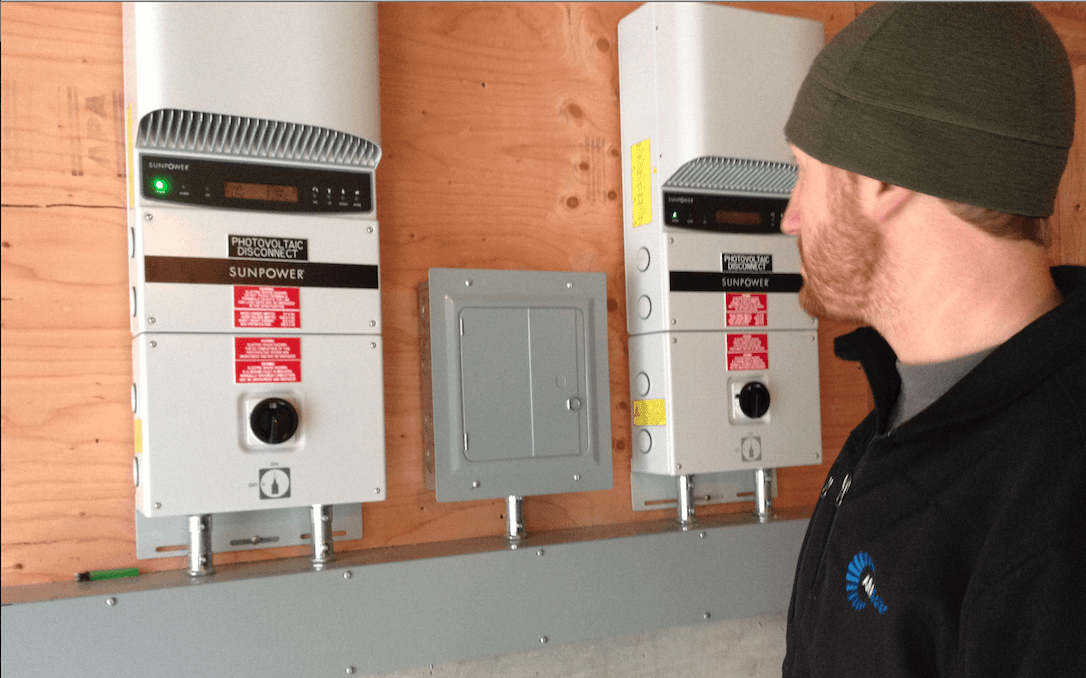
 One of the client’s favorite parts of the project is the green aspect. With such a large south-facing roof area on the garage, the owners were very excited to be installing a solar collector; you can see one of them with the meter and meter technician below. The two interior wall-mounts are converting sun energy, and the exterior meter is showing the amount of electricity the building is pumping back into the electrical grid, having already satisfied all of its own needs, even on a grey Seattle winter day!
Stay tuned for our last update on the Big View House and final photos!
Blogs in the Big View House Series:
Big View House #1: Scope and Potential
Big View House #2: Schematics and Modeling
Big View House #3: Permitting
Big View House #4: Construction
Big View House #5: Finishing Touches
Categories:
Categories:
Tags:
