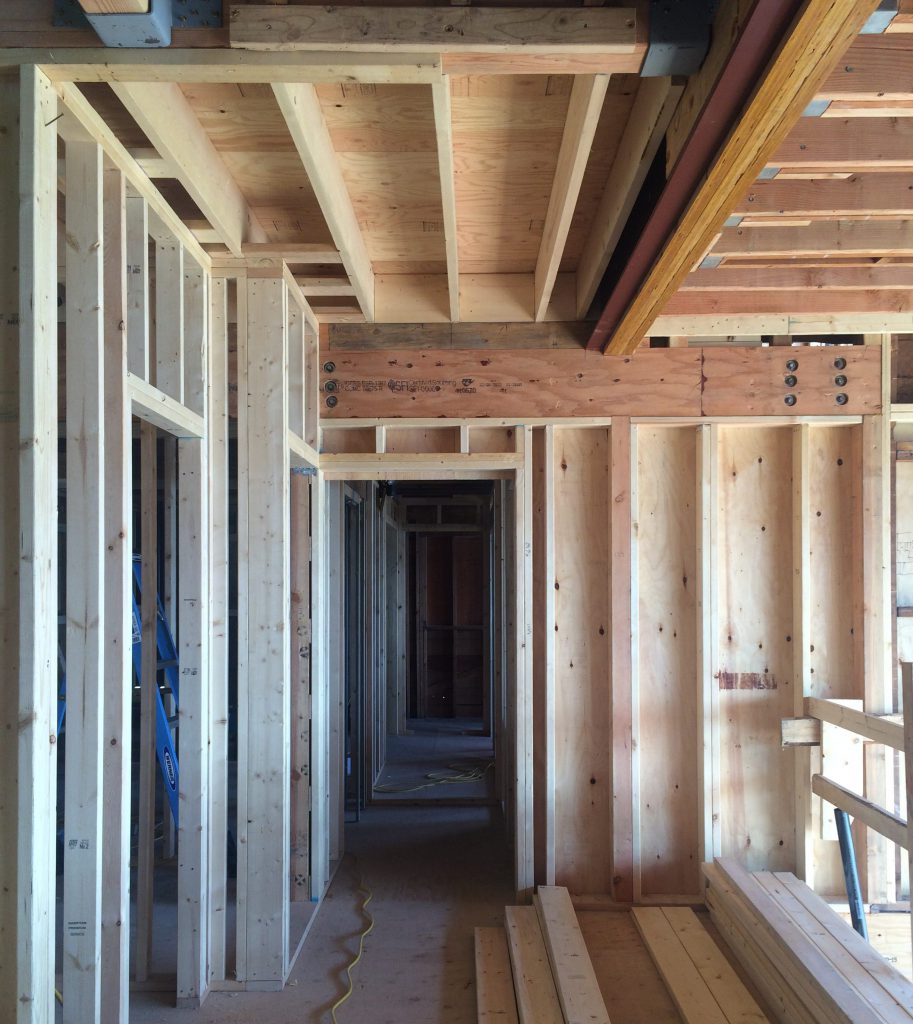
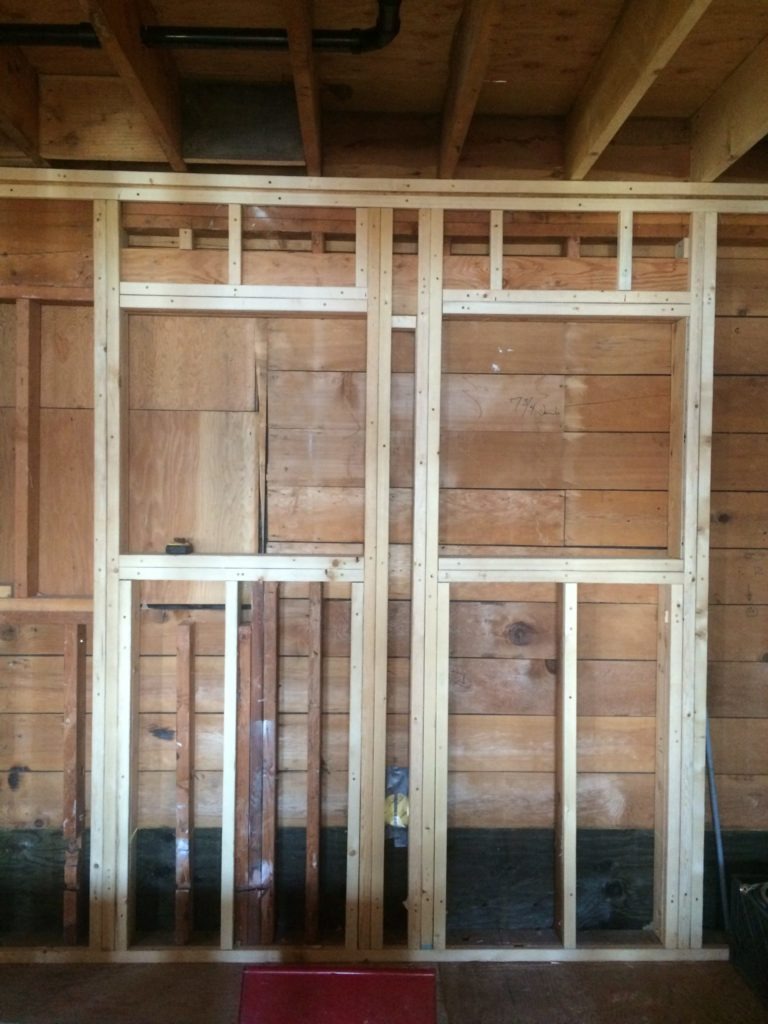
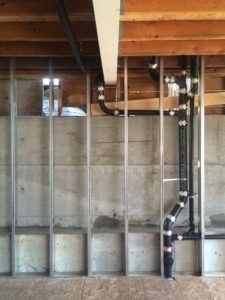
Deep into our construction at the Lake House Remodel, we’ve straightened and supported the house (see blog #2 – Behind the Scenes), so we can now begin to implement our design. It was extremely important to make sure the house was level before we started our next phase: framing, electrical, and plumbing. We do this because an improperly framed house, or a house that has uneven settling, can lead to terrible problems down the road when it comes to drywall, furniture and cabinet installation among other structural issues. With it cleared up, we can move onto framing.
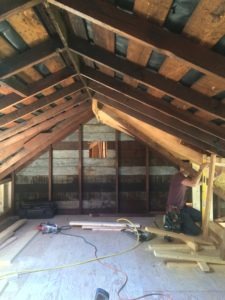
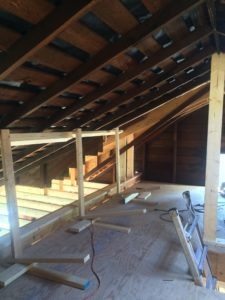
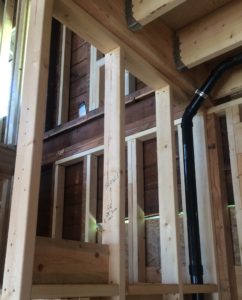
One of the more exciting parts of this new phase is the completion of the floor framing for our owner’s attic “creative space”. Beams and ties were needed to be put in place to jack up the roof from its current sag, so we used that as an opportunity to create a (quaint) 4th floor with a ladder and hatch for entry. We’ll be adding a couple of windows and a skylight for a breeze. The photos below are the first look into this new space!
While framing the new rooms on the main and upper levels, back in the office we’re finalizing our window and door orders (when you’re ordering a 16′ door, you want to make sure your openings are plumb). We brought our Milgard specialist out to the site to adjust openings and window sizes, and found out that our spec’d sill heights were probably too low for young children. That’s the beauty of design-build; the flexibility in decision making! With windows and doors amended and ordered, we move on to refining our electrical spec with our lighting consultant and plumber who can work better with the room framing now in place. Below, you can see notes made during our lighting walk though for the electrician, and the beginnings of switch and receptacle installation.
Blogs in this series:
Design Behind the Lake House Remodel
Behind the Scenes: Lake House Remodel
Framing the Lake House Remodel
Lake House Remodel: Construction Progress
Categories:
Categories:
Tags:
